Sunday, June 12, 2011

Herbed Breakfast Sausage Patties

I bought the Vegan Diner: Classic Comfort Food for the Body & Soul.  I received it a couple of weeks ago, but haven't made anything out of it.  Today, I decided to make Herbed Breakfast Sausage Patties.  I don't know why I wanted to make it as I've never been a big breakfast sausage fan, but I was looking for a tofu breakfast scramble and it just sounded good when I ran across the recipe.

This sausage dough was incredibly easy to make.  I loved the fact that all but 3 ingredients were whisked together. Then I only had to whisk the water, olive oil, and soy sauce (I used low sodium Tamari) and just stir it into the dry ingredients with a fork.
I used a coffee scoop to measure out the dough into 1/8 cup increments.  I don't have a small burger press, so I just used my hand to flatten the dough mounds into patties.  They came out fine.  I think part of the charm of breakfast sausage patties is that they aren't perfect patties when made at home.
I used my Wolfgang Puck Rice Cooker with the 3 stainless steel steamer trays to steam the patties.  I steamed the patties in the top steamer tray for 10 more minutes after removing the patties in the lower trays just to make sure they were done.  This rice cooker was an excellent investment and relatively cheap.  I only paid $50 for the entire set.  At the time of purchase, I had no idea I would stop eating meat and would use it repeatedly to make steaming seitan a snap!
So, the recipe says to let the sausage patties cool completely before removing them from the foil.  Then, the patties should be refrigerated, preferably overnight, before pan frying and consuming.  I removed the patties from the steaming trays and put them on a cookie rack to cool.
OK, did you think that I would make these on a Sunday morning and follow the directions exactly?  Ummm ... NO! :)  Hey, it was Sunday morning.  What better time to eat breakfast sausage????
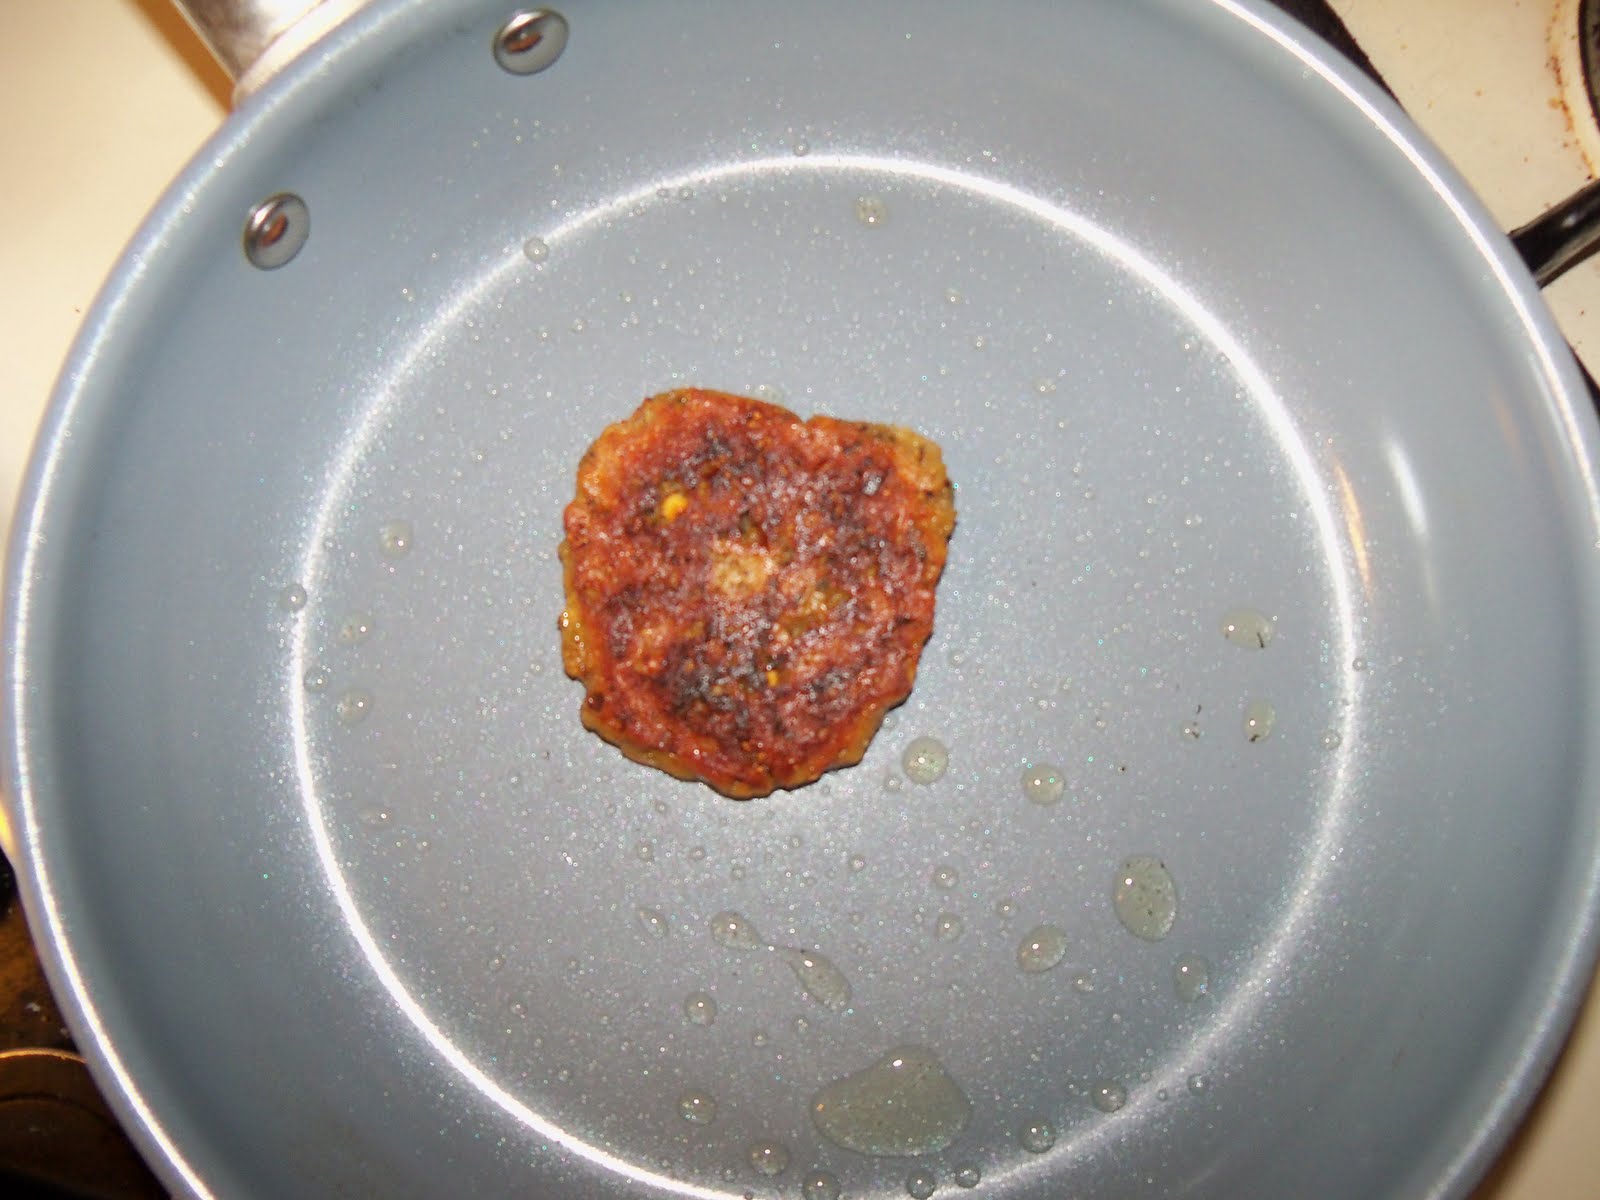
I threw one into my trusty skillet and browned it to perfection.  One thing I did learn from browning these is that it would have been better if I had used a flat surface, instead of my hand, when forming the patties.  While the bottom of the patties is flat, the tops are not making it brown unevenly on one side.  Of course, that did NOT affect the taste.
Herbed Breakfast Sausage with Pancakes and Earth Balance
I asked my oldest son if he wanted a vegan sausage patty.  His response was exactly one word, "YUCK!"  However, he did say that the sausage patties smell like regular sausage patties and he didn't know how that was possible.  :::chuckle:::  My response, you ask?  I replied, "That's because I'm a great cook!"  He agreed.

This recipe actually yielded 15 sausages for me.  I think using the coffee measuring cup helped with that.  The sage flavor is very strong.  I thought with adding 1/2 teaspoon of red pepper flakes, the sausages might be too spicy, but they aren't spicy at all.  It's been years since I had breakfast sausage, but from my memory, these taste close.  I'll definitely be freezing the dozen I have left for future use and I'll definitely make this recipe again.  It's easy, quick, and yields great results!

A post blog entry note:  I did a nutritional analysis on these patties based on the 15 that I got from the recipe.  The results are per patty:  61 calories, 13 from fat; 1g fat; no saturated or trans fats; no cholesterol; 226mg sodium; 5g carbohydrate, 1g fiber; 7g protein.

Mushroom Barley Soup and Strawberry Ice Cream

I've been very blog lazy lately.  I made a couple of tasty items, but did I take pictures?  Nope!  I will of the Mushroom Barley Soup and post it, but I'm afraid the Strawberry Ice Cream is long gone.

First, the soup.  I belong to the Eat 2 Live Yahoo! group founded by Susan Voisin.  Recently, Susan posted a link to her recipe for Mushroom Barley Soup with Cannellini Beans and Cabbage on her website FatFree Vegan Kitchen.  I had two packages of mushrooms in my refrigerator, so this was the perfect recipe to use one of them.

I made this soup using organic mushroom broth to replace the vegetable broth.  Also, I used pinto beans instead of cannellini beans, and I used two cans versus one can.  I upped the mushrooms to 8 oz. of sliced baby bella  mushrooms and I used green cabbage instead of red cabbage.  

I don't ever have sherry in my house.  I had some Tokay Port Wine, but the bottle was unopened and it's a sweet wine, not a dry wine.  So, I used 2 tablespoons of Pinot Noir instead.  No, it's not the driest of wines, but the measurement was small and I figured it would do in a pinch.  I don't have spicy hot paprika, so I just used a teaspoon of the smoked paprika that I do have and added some red cayenne pepper and dried jalapeno flakes.  It had enough of a kick.

The soup is very thin and very light.  Normally, one wouldn't think soup would be an ideal meal in June, but it's been rainy and in the mid 60's here in Chicago, so it worked.  I like the lightness of the soup as it saves on calories.  I wouldn't make this soup in the coldest winter months unless I altered the recipe to make it into a creamy mushroom soup.  It's a good cool summer day soup.

I've been on a frosty dessert kick for the past couple of weeks in a determined attempt to use my ice cream maker more often.  After reading through several dozen ice cream recipes, I settled on Vegan Strawberry Ice Cream by David Lebovitz.

I altered the recipe a bit as I don't buy rice milk.  I decided to use 3/4 cup unsweetened original almond milk and 3/4 cup SO Delicious Coconut Milk Creamer.  Instead of honey, I used agave and I used slightly more than 1 1/2 pounds of organic strawberries.

The ice cream was icier than commercial ice creams.  I thought the texture was between ice cream and a sherbert.  The strawberry flavor was more pronounced than in commercial ice creams. The appearance was very close to the picture on David Lebovitz's recipe page.  It was a very deep pink.  I did have leftovers and it froze very well.  While the ice cream did get a bit hard, it wasn't like a rock and 30 seconds at 60% power in the microwave softened it to perfection.

I did a nutritional analysis on the version I made and the calorie count was under 170 calories per CUP.  It was about half of the calories of the watermelon sorbet I made a couple of weeks ago.  Shocking!  That was just an added bonus to an already tasty treat.  I'll be making this recipe again. 

My next frosty treat adventure will be some type of vanilla ice cream.  I have some Newman O's and I think I'll throw some of those in during the last 5 or 10 minutes of processing to make Cookies and Cream Ice Cream.  I promise to take pictures of that.

Sunday, June 5, 2011

Summer Treats

I have an ice cream maker.  It's the kind with a compressor that does not require freezing the container.  I think I've used this ice cream maker twice in the three or four years that I have owned it.  It's been one of my forgotten kitchen gadgets ... that is, until today.
I bought a whole seedless watermelon, which I cut up on Friday evening to take on a trip yesterday to tour five wineries in Southwest Michigan with some girlfriends.  Unfortunately, we did not eat the watermelon on the trip.  That means I have an entire watermelon waiting to be eaten and my sons do not eat watermelon.  So, I decided to make sorbet with some of it.  I mean, really, I've had the ice cream maker long enough.  I need to start using it.

I chose a recipe by Alton Brown.  I couldn't find the written recipe, so I used the recipe shown on the video.  You can find the video here. The reason I chose this recipe is because I did not have to strain the watermelon after liquifying it in the food processor.  Plus, it has a little lemon juice and vodka (very little) in it.  Next time I make it, I'll add some lemon zest to the mixture before freezing it.  I think it would be much better with a more pronounced lemon flavor.
Here is the list of ingredients.

Watermelon Sorbet

1 lb. 5 oz. seedless watermelon
3 tablespoons freshly squeezed lemon juice
2 tablespoons vodka
9 oz. sugar
1 tablespoon lemon zest (what I'll be adding next time)

After mixing all of that in my food processor (using the metal S blade) until the sugar dissolved, I refrigerated it for about 3 hours, which is one hour longer than I needed to.  I poured the mixture into my ice cream maker and initially set the time for 40 minutes, but ended up letting it run for 50 minutes.  It's in the freezer now to firm up a little more.

This is definitely the first of many adventures I plan on having with the ice cream maker.  Now that I'm using it again, I will be making ice cream with almond or coconut milk or coconut milk creamer this summer.  I just bought some Newman's O creme-filled chocolate cookies, so I can make Cookies and Creme Ice Cream.  I'll be making that this week.  My sons will definitely eat that frosty dessert.